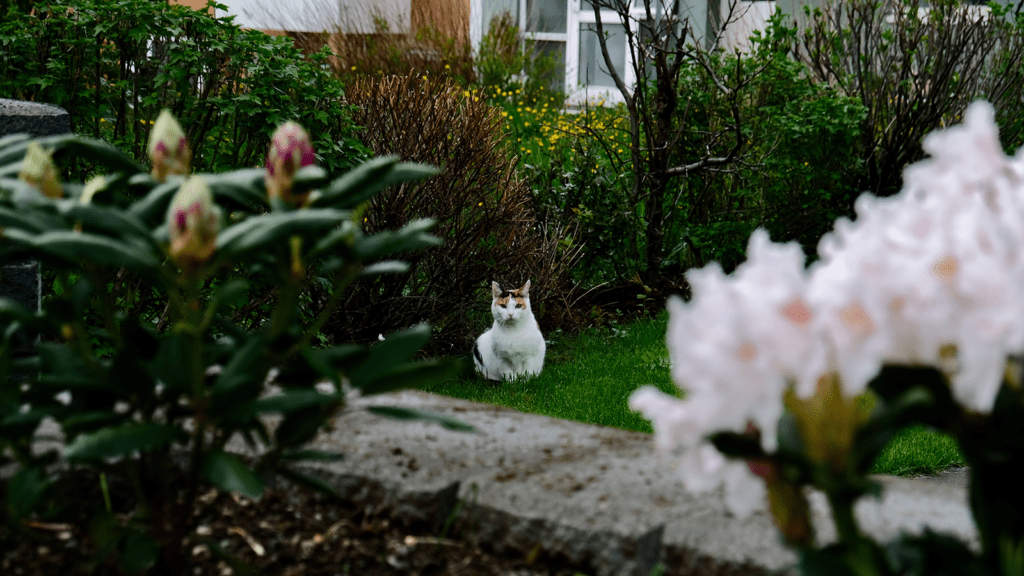
How To Make An Outdoor Cat Shelter
How To Make An Outdoor Cat Shelter Making a DIY outdoor cat shelter or outdoor cat house can be cheap and easy. It can also be a lifesaver for feral and stray cats, especially during the winter months. A DIY cat house gives your furry friend protection from the elements and a safe space they can call home. The simplest shelter consists of two bins stacked inside one another. Insulate the interior walls using straw or styrofoam, and avoid using cloth materials inside, as these can get wet and freeze. Set up your food and water stations outside the shelter to avoid spills. You can also put a litter box outside in another storage bin. If you are a cat lover looking to help neighborhood cats, making shelters is a great way to help. Keep reading for a more in-depth guide to making a DIY outdoor cat house for your community cats. DIY Outdoor Cat Shelter In 6 Easy Steps Step One: Gather Your Materials You’ll need the following: Step Two: Cut entrance holes in both bins The entrance holes should be small to prevent predators from getting inside and raised from the ground for the same reason. Typically, holes 5.5-6 inches in diameter work well. My outdoor cat gets chunky in the winter, so I did a 7-inch hole. A smaller hole will also prevent wind and rain from getting in, helping to keep a winter shelter insulated and the cat warm. Using a 6-inch planter that’s straight down the sides will help, as you can then use it as a connecting tunnel between the bins. Simply trace the diameter of the pot onto each bin before cutting. This will also make it easier to create a perfect circle! Step Three: Drill Holes In The Bottom Of The Bins Drill a few drainage holes in the bottom to allow water to escape if it does accumulate inside the bin. However, the shelters will ideally be covered enough to prevent flooding or accumulation inside. Step Four: Place Styrofoam In The Large Bin If you use two storage bins, you can easily put insulating material between and all around the bins. This will help you align the entrance holes to align up precisely. Once your insulation is set, you can place the smaller bin into the larger one. Step Five: Heated Winter Shelters Straw—not hay—should be stuffed between the durable storage bins to insulate the shelter. It may be tempting to add blankets or old towels to the bin at this point, but these can freeze if they’re rained on. Please stick to the straw! There are several outdoor heating pads available for your winter cat shelter. Outdoor heating pads usually run for 24 hours, and you can use an extension cord if your outdoor shelter is further from your house. If you don’t have a heating source, then you want to make a small, cozy space inside with minimal air space to conserve the cat’s body heat. A cat-sized styrofoam cooler would also be a safe and warm place for community cats. It’s always a good idea to add insulating materials to allow the cat to burrow for warmth. Avoid using a cardboard box in the winter due to the moisture which will cause them to mold. Step Six: Add The Planter And Lids Place the planter into the hole of each bin to create your kitty tube entryway. The small entrance hole offers extra protection from predators. Then, put the lid on the small interior plastic storage bin. Double-check that the straw is well-packed, and place more straw or styrofoam over the top of the smaller bin, then close up your finished cat house by placing the larger bin’s lid on top. Where To Place A Cat Shelter Cat shelters should be placed out of sight and be inaccessible to predators. For instance, you may want to place them inside a fence to prevent stray dogs or coyotes from getting to the cats. Use wood or another object to lift the shelters from the ground to help with insulation, weather-proofing, and predator-proofing. Place straw beneath the shelter for added insulation and protection from snow. You can place the shelter under an awning to protect the roof from the weather. You can also place the door entrance facing a structure so that other animals are less likely to enter. Outdoor cat shelters for multiple cats Rather than making one large shelter for the cats in your area, we recommend you create several smaller ones. The larger a shelter is, the more cats will be needed to keep the area warm. Your neighborhood’s colony is likely larger than you think. Try creating two shelters more than you think are needed, and you’ll be surprised by the new visitors you see! Outdoor Cat Shelters For Hot Climates The design above, with less cozy insulating material, can also be used in the summer. Here are a few ways to keep your feral cats safe and cool in hot climates include: Conclusion Providing your outdoor cats with shelters or houses is a great way to make a difference in the lives of outdoor cats, offering them extra warmth and comfort, protection from predators and bad weather, and a sense of love and security. Making a DIY cat shelter is easier than you think! A durable storage bin or a building with strong wall pieces, four interior walls, a sturdy floor, raised above ground level, and a six inches or more opening will be perfect for cats inside to rest comfortably and safely. You can find all these materials online or at your local hardware stores. Thank you for your dedication to helping cats! We hope you enjoyed these cat house ideas for your feline friends. If all else fails, the outdoor cat houses on Amazon.com are pretty good.
How To Make An Outdoor Cat Shelter Read More »

